{{command}}
Why a torus shape matters
Building smooth, circular features in Minecraft by hand takes forever, and one miscounted block can throw off your entire ring. A torus (the classic “donut” shape) instantly elevates any build: think floating rings, grand arena walls, magic portals, or decorative pixel‑art sculptures. Our Torus Generator removes the frustration so you can focus on creativity.
Generate your torus now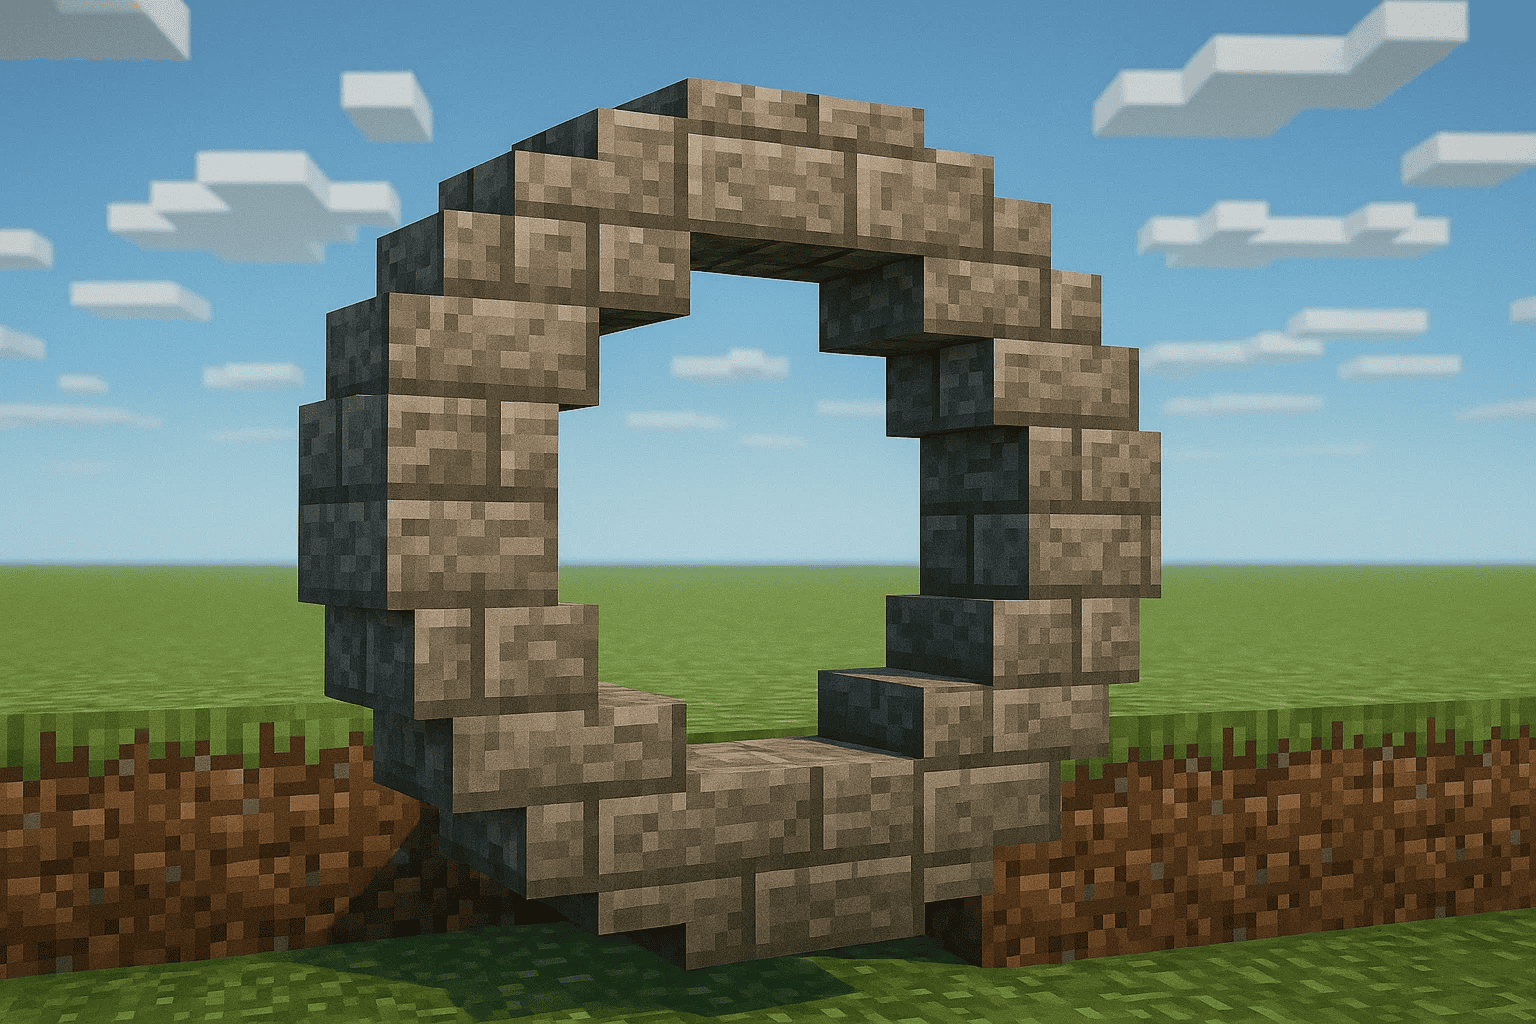
How to Make a Torus in Minecraft?
Try Our Minecraft Torus GeneratorSet Your Dimensions
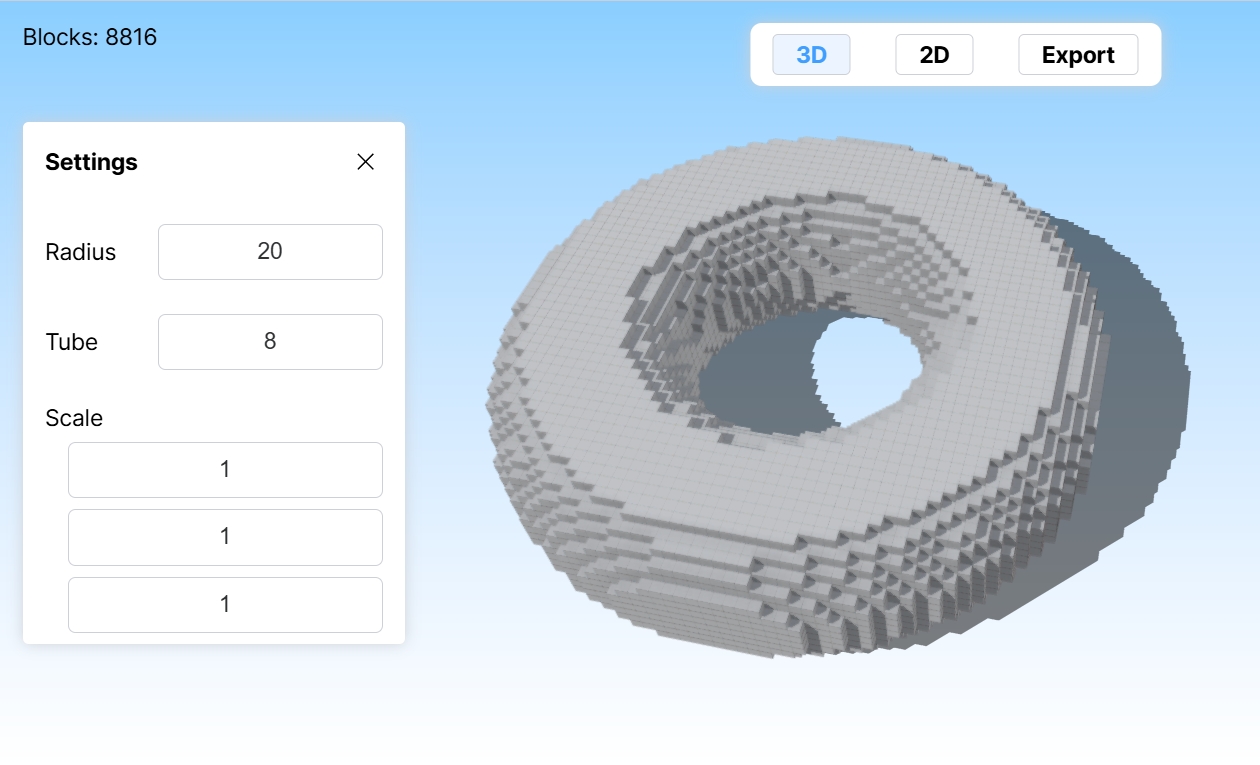
Set radius, tube thickness, scale to define your torus shape, watch the grid update in real time. If you’d like to start with a basic flat circle, head to Pixel Circle Generator and then come back here to give it depth
Preview Layers
Toggle between 2D layer mode and 3D isometric view. Zoom, pan, and tweak precision until every ring looks just right.
Export & Build
Download the format that fits your workflow and bring your ring to life, whether you’re hand‑placing blocks, pasting a schematic, or running a datapack function.
Features of Minecraft Torus Generator

User Friendly Interface
Simple & Beginner-Friendly Interface, easily adjust torus size by entering numbers or using sliders, no learning curve needed.

Free
All features are 100% free, with no hidden costs or subscriptions.

No Login Required
Fully web-based and ready to use instantly, no registration or downloads needed.

Cross-Device Compatibility
Fully responsive design for desktop, tablet, and mobile.

Multiple Export Options
- Export as PNG, SVG for sharing or reference.
- Supports .schem, .schematic, .mcfunction for easy Minecraft import.

Fast
- Instantly see changes as you edit.
- Download your torus with a single click.
Discover Our Advanced Minecraft Tools

Frequently Asked Questions
What does the Scale option do?
Scale lets you stretch or compress the torus along the X, Y, and Z axes, allowing creative shaping: flattening (Y), widening (X), or thickening (Z). Use uneven axes to create elliptical or custom “torus donut” shapes.
Can I view and build layer by layer?
Yes. Use the layer slider on the right to preview any horizontal slice in both 2D and 3D modes. The active layer is highlighted orange in 3D.
How can I estimate resource use for survival mode?
The Block Count Dashboard displays the total number of blocks needed and updates instantly as you tweak dimensions, scale or tube thickness, critical for efficient resource planning.
What export formats are available, and how to use them?
-
PNG / SVG for visual build guides
-
schem/.schematic for WorldEdit or Litematica pasting (//schem load … //paste -a)
-
mcfunction for vanilla datapack deployment
-
Command Block script (setblock commands) for redstone automation
Is this Torus Minecraft Creator free to use?
Absolutely. All core features are completely free, with no sign up.
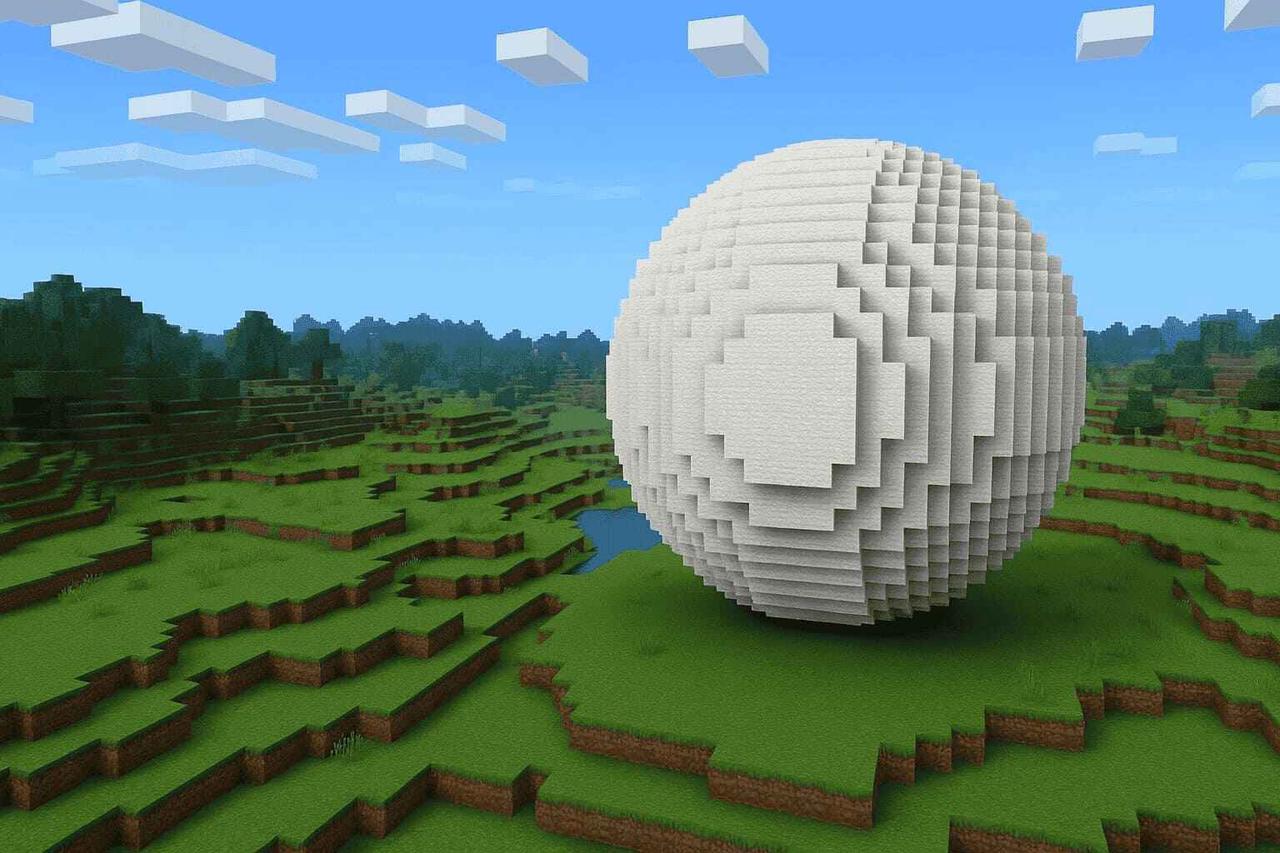
How do I turn my torus into a sphere?
For a ball, switch to our Sphere Generator page and adjust the X/Y/Z radius.
How can I decorate my torus with custom pixel art?
You can give your torus a unique look by following our full customization workflow. Simply follow the steps in the How to Customize Your Torus section below.
How to Customize Your Torus?
01 Generate your ring
On the Torus Generator page, adjust the X,Y,Z radius and scale until you’ve crafted the perfect hollow donut shape.
Try Our Minecraft Torus Generator
02 Export the flat layout
Click “Export PNG” to download the torus projection as a 2D image.
Try Our Minecraft Torus Generator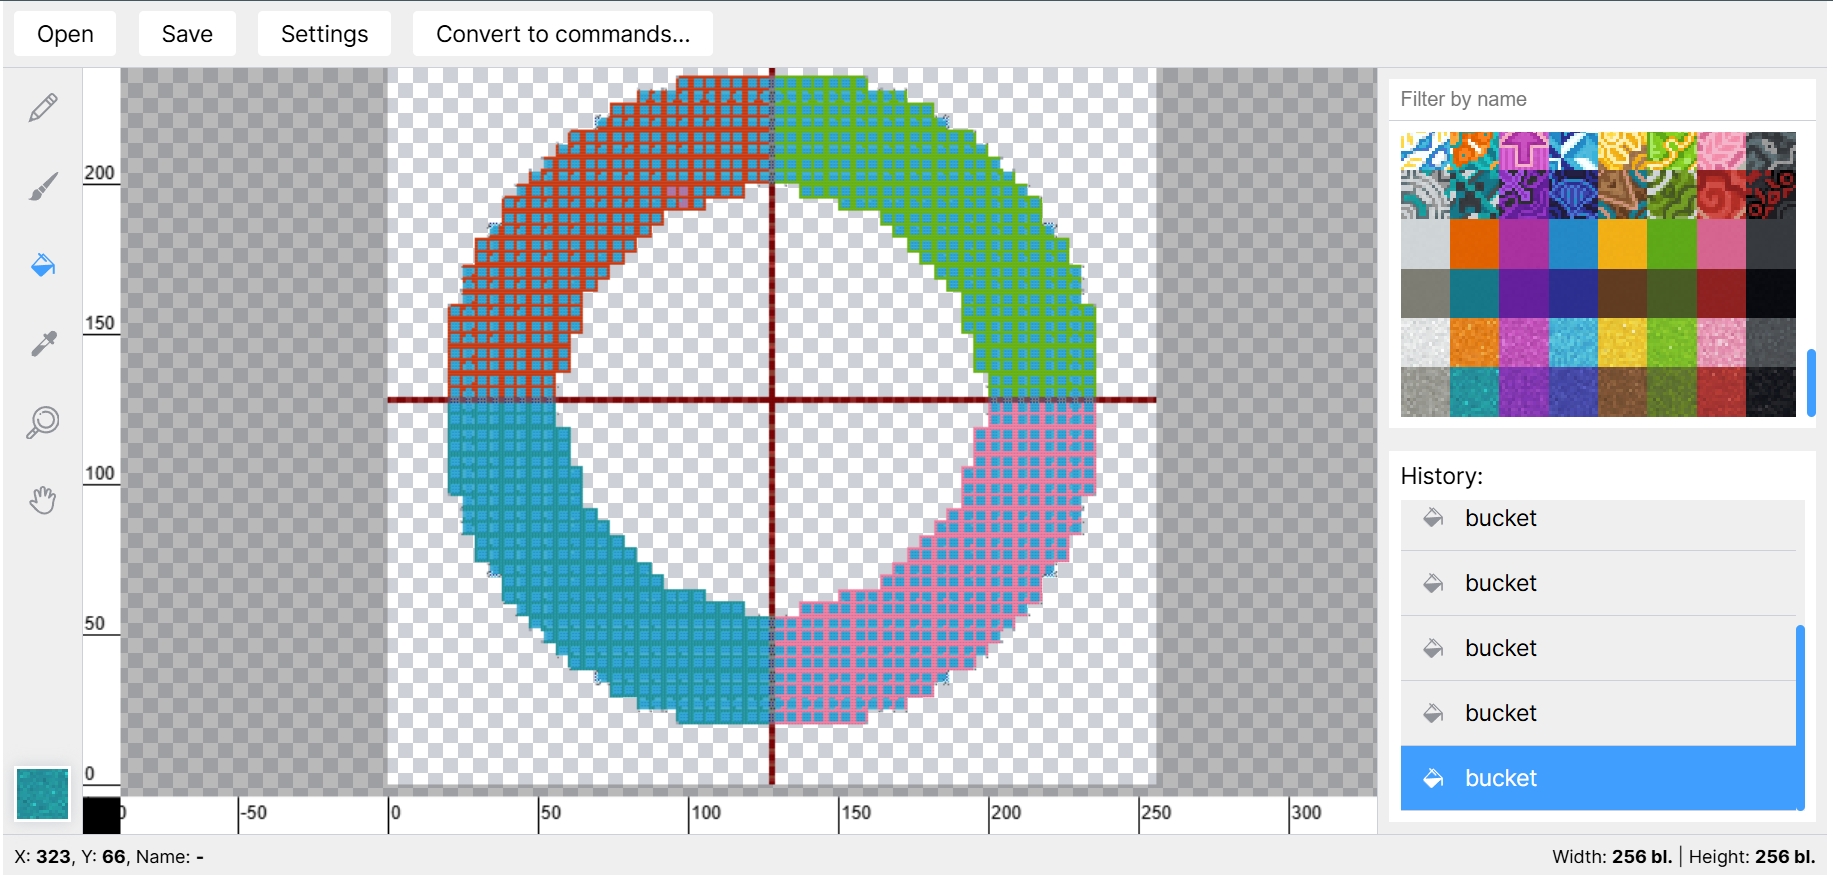
03 Design your texture
Open that PNG in the Pixel Art Generator, apply colors or patterns, and export as .schematic file or command blocks for your textured torus.
Try Our Minecraft Torus Generator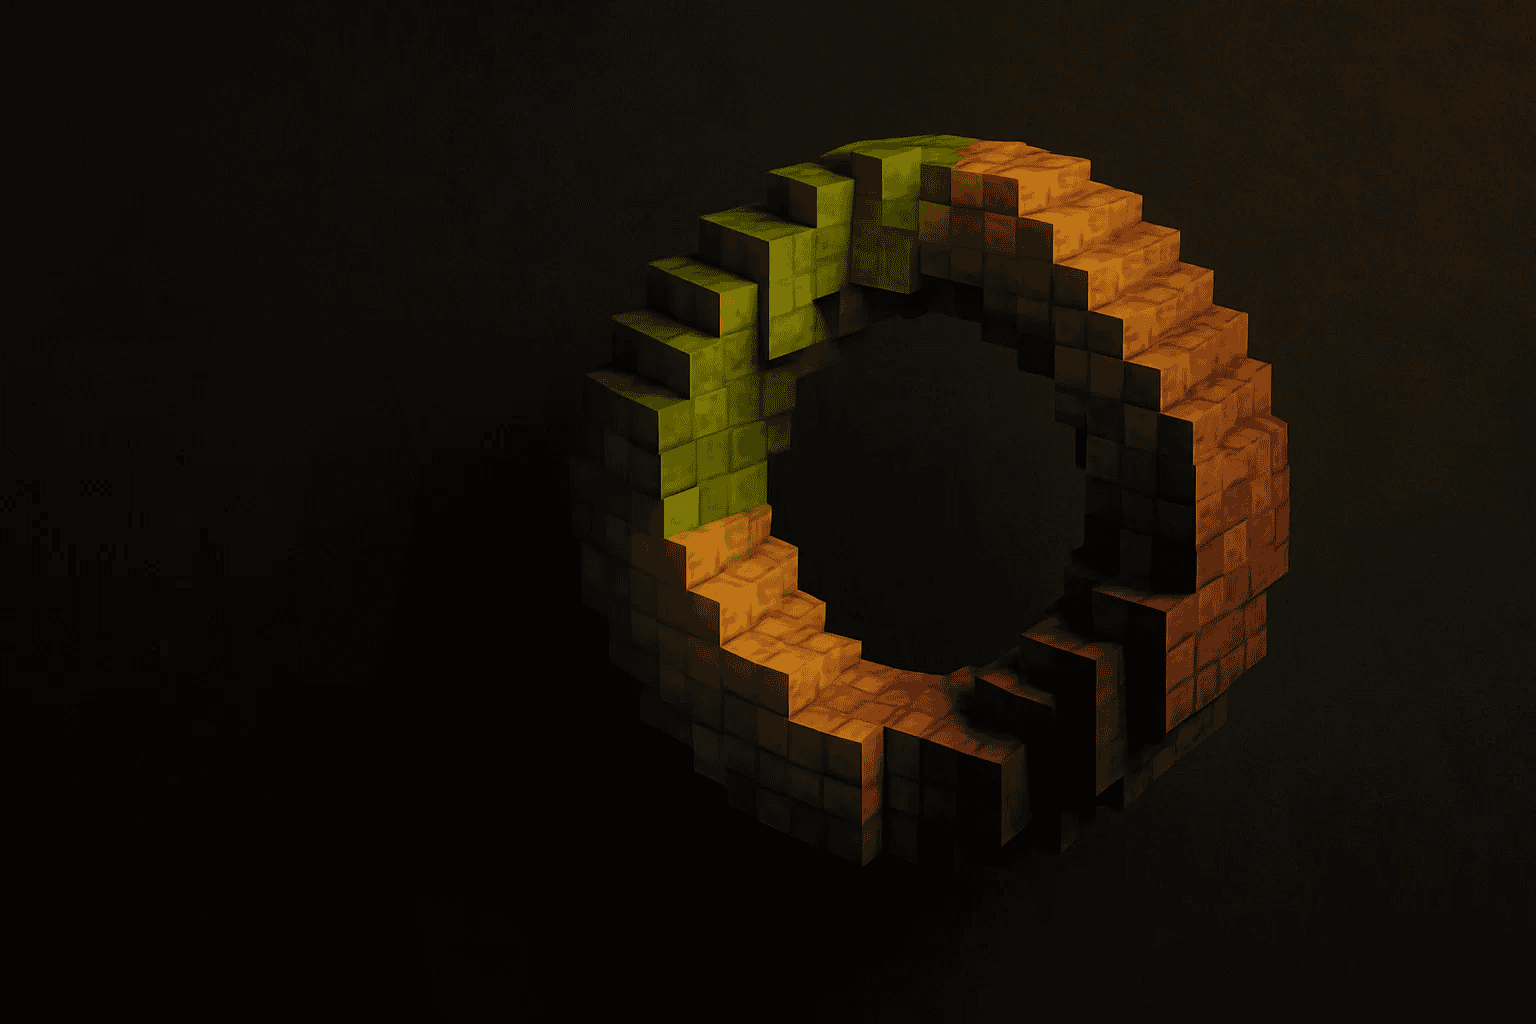
Your all-in-one generator hub for all Minecraft building, including perfect circles, spheres, pixel art, and more.
[email protected]